
UCOP Cascade Help
Add a right-side block to a content page
Applicable to: content pages | Skill level: intermediate
Goal: Add a link list, contact block, staff block or flex block to the right-side column of a content page.
Content pages have a two-column layout. The left-side column is the primary content area, while the right-side column is intended for "callouts," or elements that perform functions such as pointing users to the proper contact person, referring them to related resources, or providing additional contextual information related to the primary content.
Block types
Four different types of blocks can be used in the right-side column of a content page:
- Link list
- Staff block
- Contact block
- Flex block
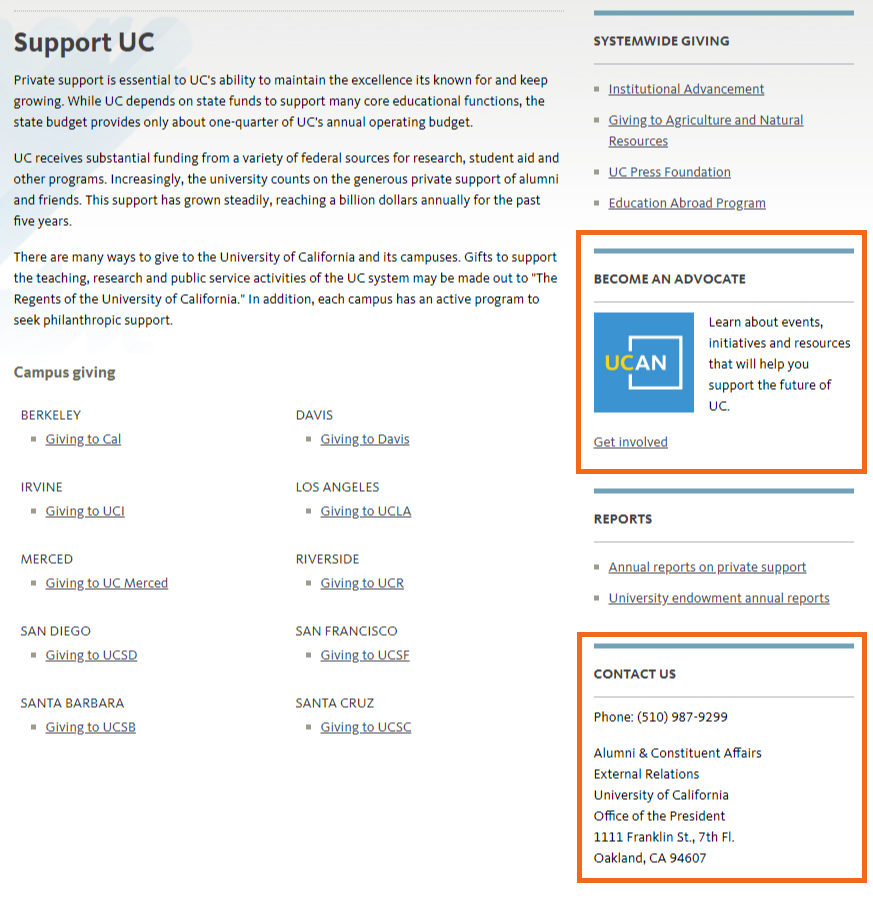
The screenshot above shows a flex block (with customizable text and images) and a contact block (with structured contact information) in use.
Staff blocks appear as they do on the Staff category list page. You can customize the title of the staff block as it appears in the right-side column by using the Alternative block title field.
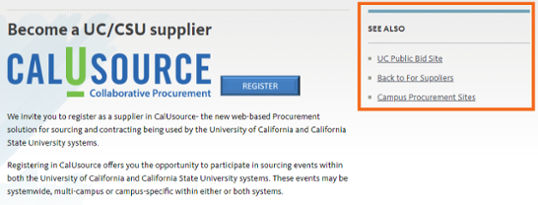
This screenshot shows a link list, or bulleted list of hyperlinked resources.
Steps
The process for adding a right-side block to a content page is the same regardless of what type of block it is.
-
Navigate to your content page and click Edit.
-
Scroll down below the WYSIWIG box and look for the Right column block chooser:
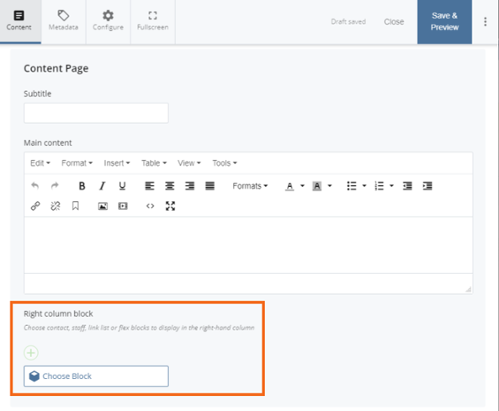
-
Click Choose Block to find and select the block(s) you want to add. Click the plus sign to add additional blocks.
- Flex blocks live in the _blocks folder, either within your site or within a different UCOP department site. (If you want to re-use a flex block from a site to which you don't have access, ask for help).
- Contact blocks live in the _blocks folder.
- Link lists live in the _blocks/link-lists folder.
- Staff blocks live in the staff folder.
-
Save & Preview the page.
Be sure to review your Spell Check, Link and Accessibility reports, make any needed changes, and hit Submit when completed.