
UCOP Cascade Help
Upload a file/image/video
Applicable to: files, images and videos | Skill level: easy
Goal: Upload a new file, image or video to your site.
All files published to Cascade have a maximum file size of 512MB.
- Files: These file formats should go in the _files folder: pdfs, Word docs (.doc or .docx), PowerPoints (.ppt or .pptx), Excel spreadsheets (.xls or .xlsx).
- Images: These file formats should go in the _images folder: .jpeg, .jpg, .tiff, .png, .gif
- Videos: These file formats should go in the _videos folder (You may need to create this folder): MPEG-4 (.mp4) or QuickTime Movie (.mov). Cascade cannot display video files in Flash video (.flv) or Window Media Viewer (.wmv) formats.
Steps
-
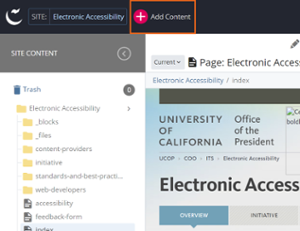
Click the Add Content button.
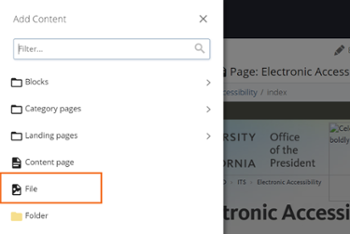
- Select File.
-
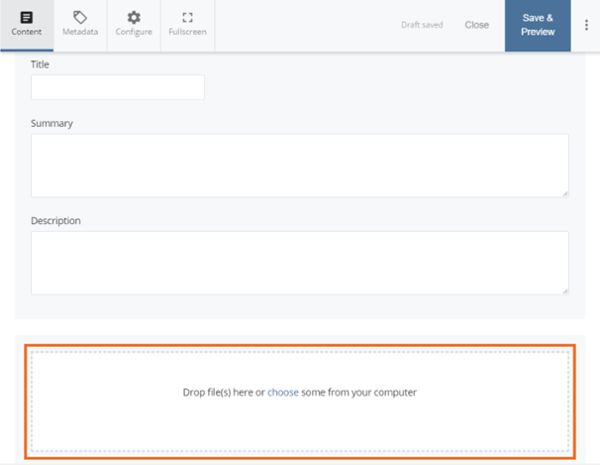
Locate the section with the words"Drop file(s) here or choose some from your computer."
Drag a file from your local computer and drop it within the box with the dashed outline, or click anywhere in the box to navigate to the file on your computer that you will use to replace the existing one.
-
When successfully uploaded, the text "Received file:" (followed by the file name and size) will appear below the Choose File button.
-
At the top of the screen, enter a File Name. You can choose to keep the default name, which will be the name of the uploaded file, or use a new, more keyword-rich name. The system name must include the file extension. View additional conventions for file names.
-
Choose a Placement Folder. For most files, this will be "_files" or "_images."
-
Fill in any Metadata you want. (A Title is minimally recommended).
-
Save & Preview. Then Submit your changes.
UC Santa Cruz also has a step-by-step tutorial for uploading a file to Cascade. Learn more.