
UCOP Cascade Help
Flex blocks
Applicable to: landing pages, content pages | Skill level: easy
Goal: Create a new flex block for use on a landing page and/or content page.
Flex blocks are designed to be just that — flexible. They can be used to highlight recent updates, key initiatives or anything else your department may want to emphasize.
Flex blocks can contain text, images and bulleted lists, and can be shared between sites in Cascade. They can be used either in the flex row of landing pages or in the right-side column of content pages. Flex blocks live in the _blocks folder within the Base Folder.
Steps for creating a new flex block
-
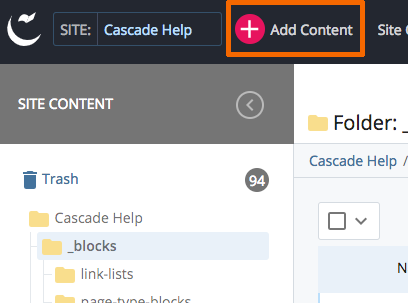
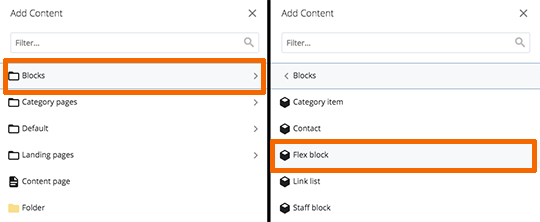
Navigate to the _blocks folder in your Cascade asset tree. Click on Add Content in the upper left of your screen. From the menu, select Blocks and then Flex block.
-
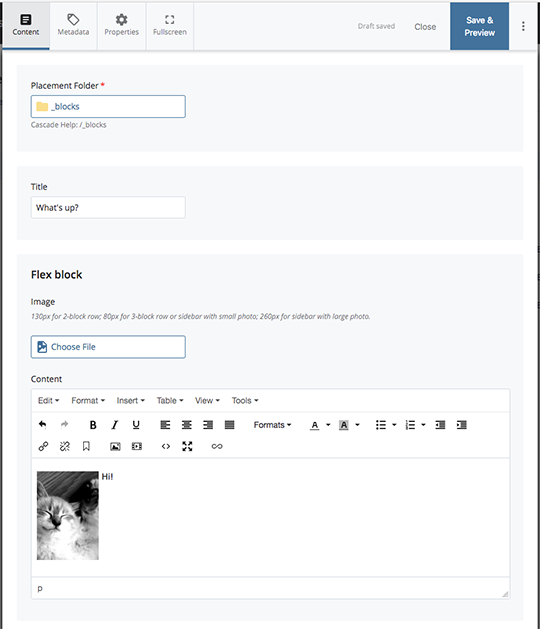
Confirm that the Placement Folder is _blocks.
-
Give the block a Title. Cascade will convert the Title you provide into a system name for the flex block when you submit.
-
Use the WYSIWYG to add your block content. A flex block is very versatile; you can enter a list of links, a small image, or pretty much any type of content. (View UC Santa Cruz's guidelines for using the WYSIWYG).
-
Save and then Submit.